This is my favorite size nursing cover set to make. It cost a little lest than $8 to make.
You need
1 yard of your favorite print(Hobby Lobby)
1/4 yard coordinating fabric (Hobby Lobby)
1/4 yard. soft material (Joanns)
Scissors
Thread
cardboard for triangle
cut about a five inch cardboard triangle for inner pocket.

Place cut fabric in corner to make sure you like the size.
Turn over top edge pin and sew.
Cut string and edge to make your triangle flush
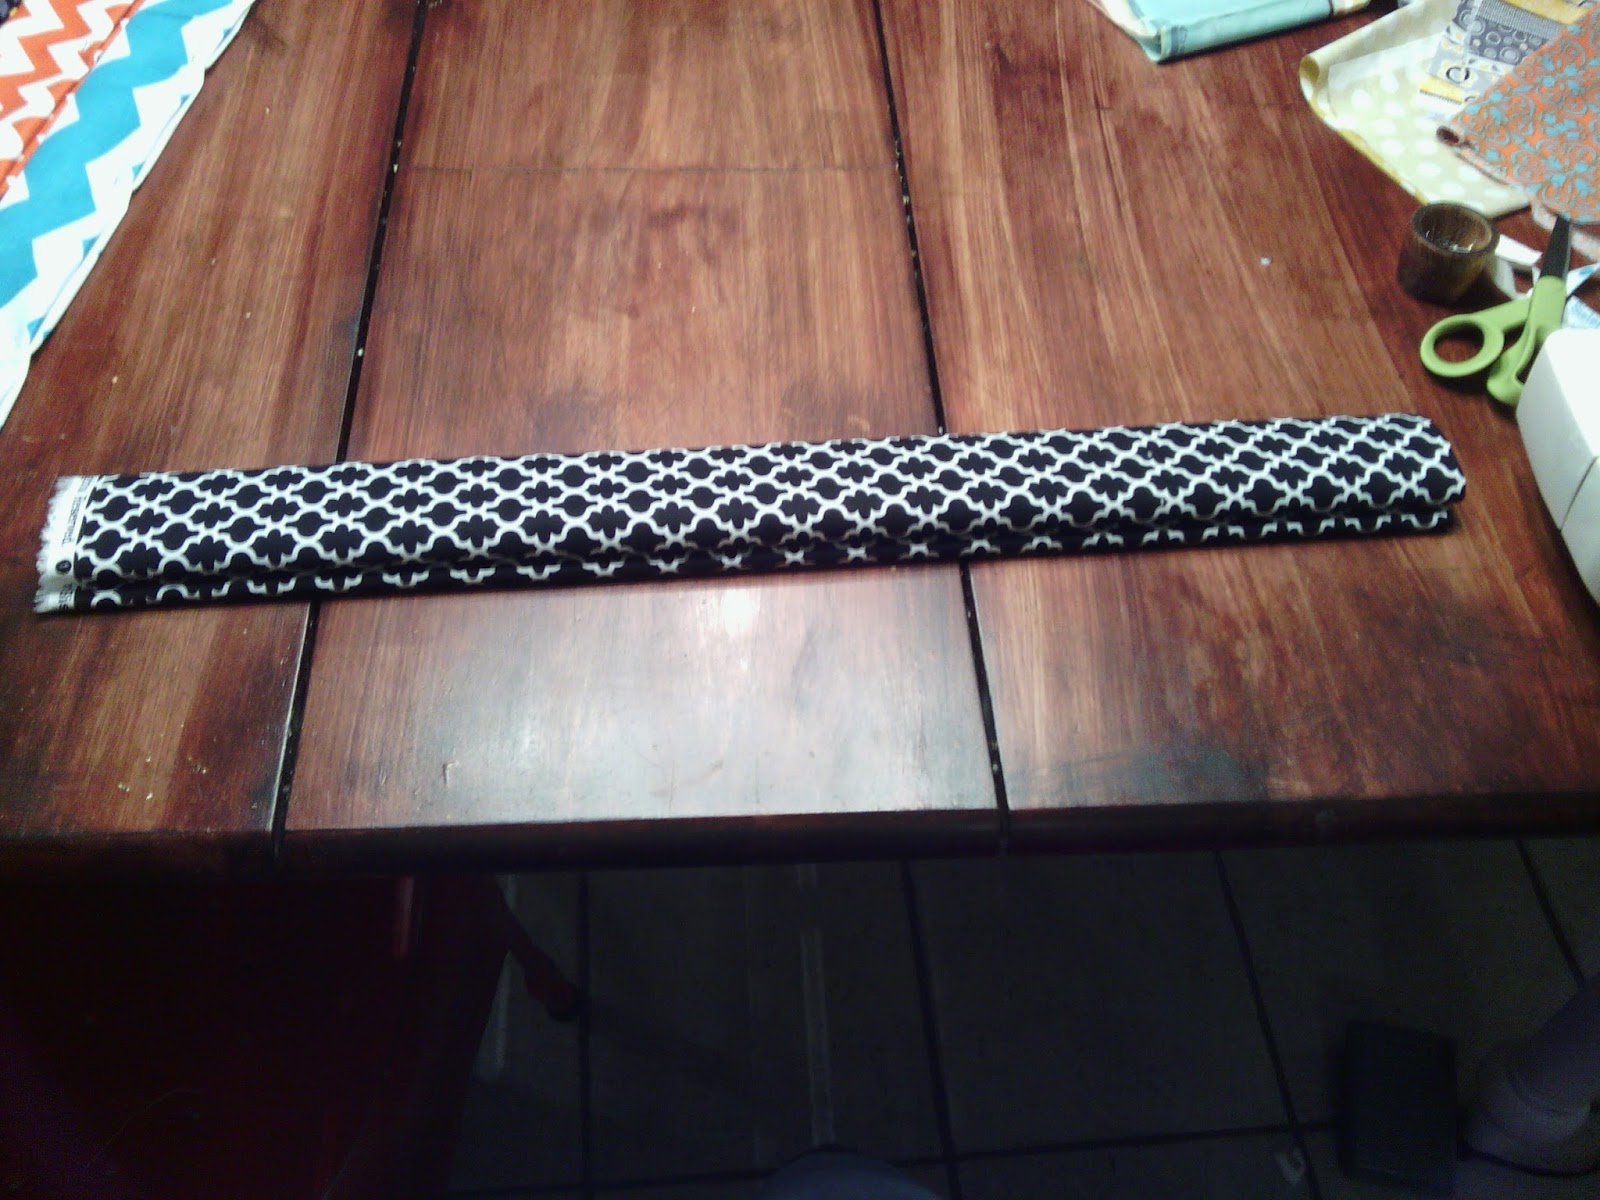
For top insert use cloth or sheet. Roll four times. (The thicker the cloth the thicker the insert will be. It is nice to see the baby with out feeling like someone over your shoulder could see you too. Cut a 18 in. piece.
Fold in half place on the top middle of your 1 yard fabric. That way you know you are in the middle. Then open insert.
Turn the top of the fabric twice and pin.
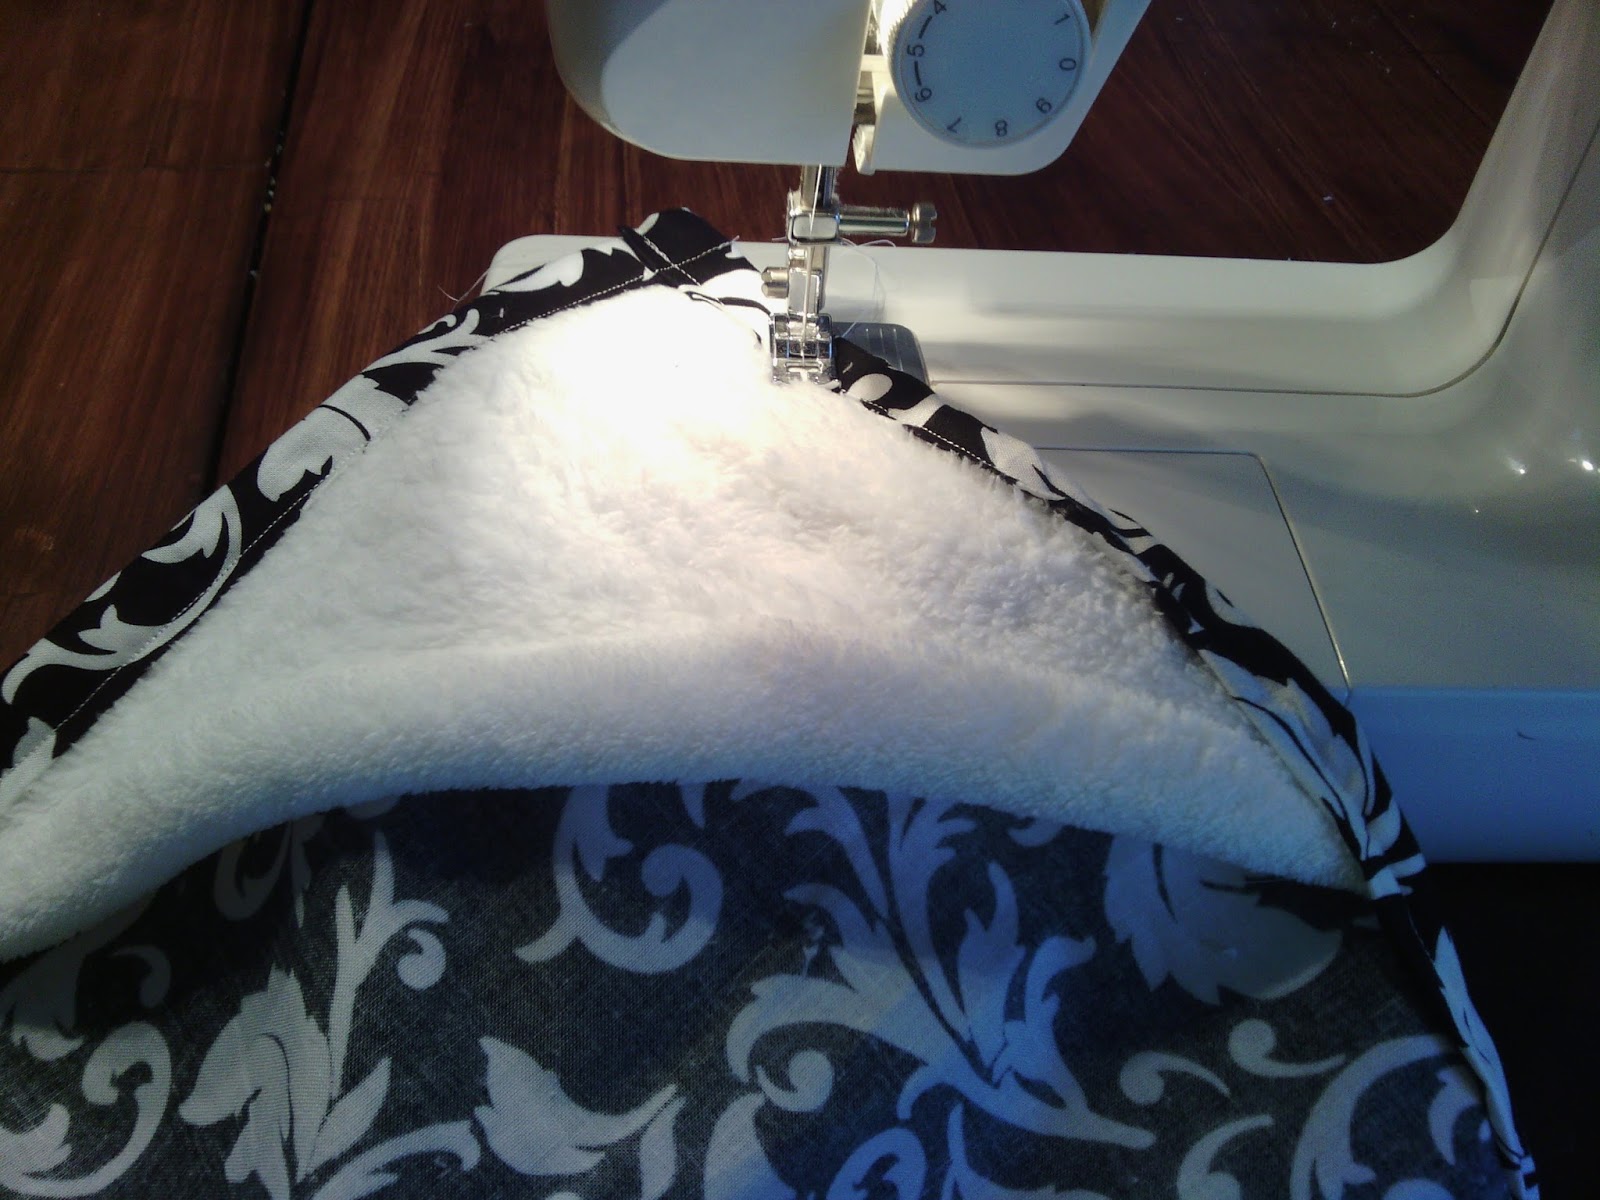
Place pocket 1 inch above corner. Fold fabric twice and pin. Remember to fold in corner like a present so no raw edges are showing.
Place pocket in the corner with a 1 inch border. Fold fabric twice and pin. Remember to tuck in corner so no raw edges are showing. Continue to fold twice and pin all edges.
Your top piece should look like this.
Sew from the inside a 1/4 inch seam.
The pocket with have two lines sewn,
Next take your coordinating piece. You will make one cut. One piece will be the neck strap of the nursing cover and the other will be a matching burp cloth.
Measure 21 inches. and cut. The 21 inch is the strap. The smaller one is the burp cloth. set the smaller piece aside.
Take shoulder strap and place it face down.
Fold the outer top and bottom edge together leaving a 1 inch gap.
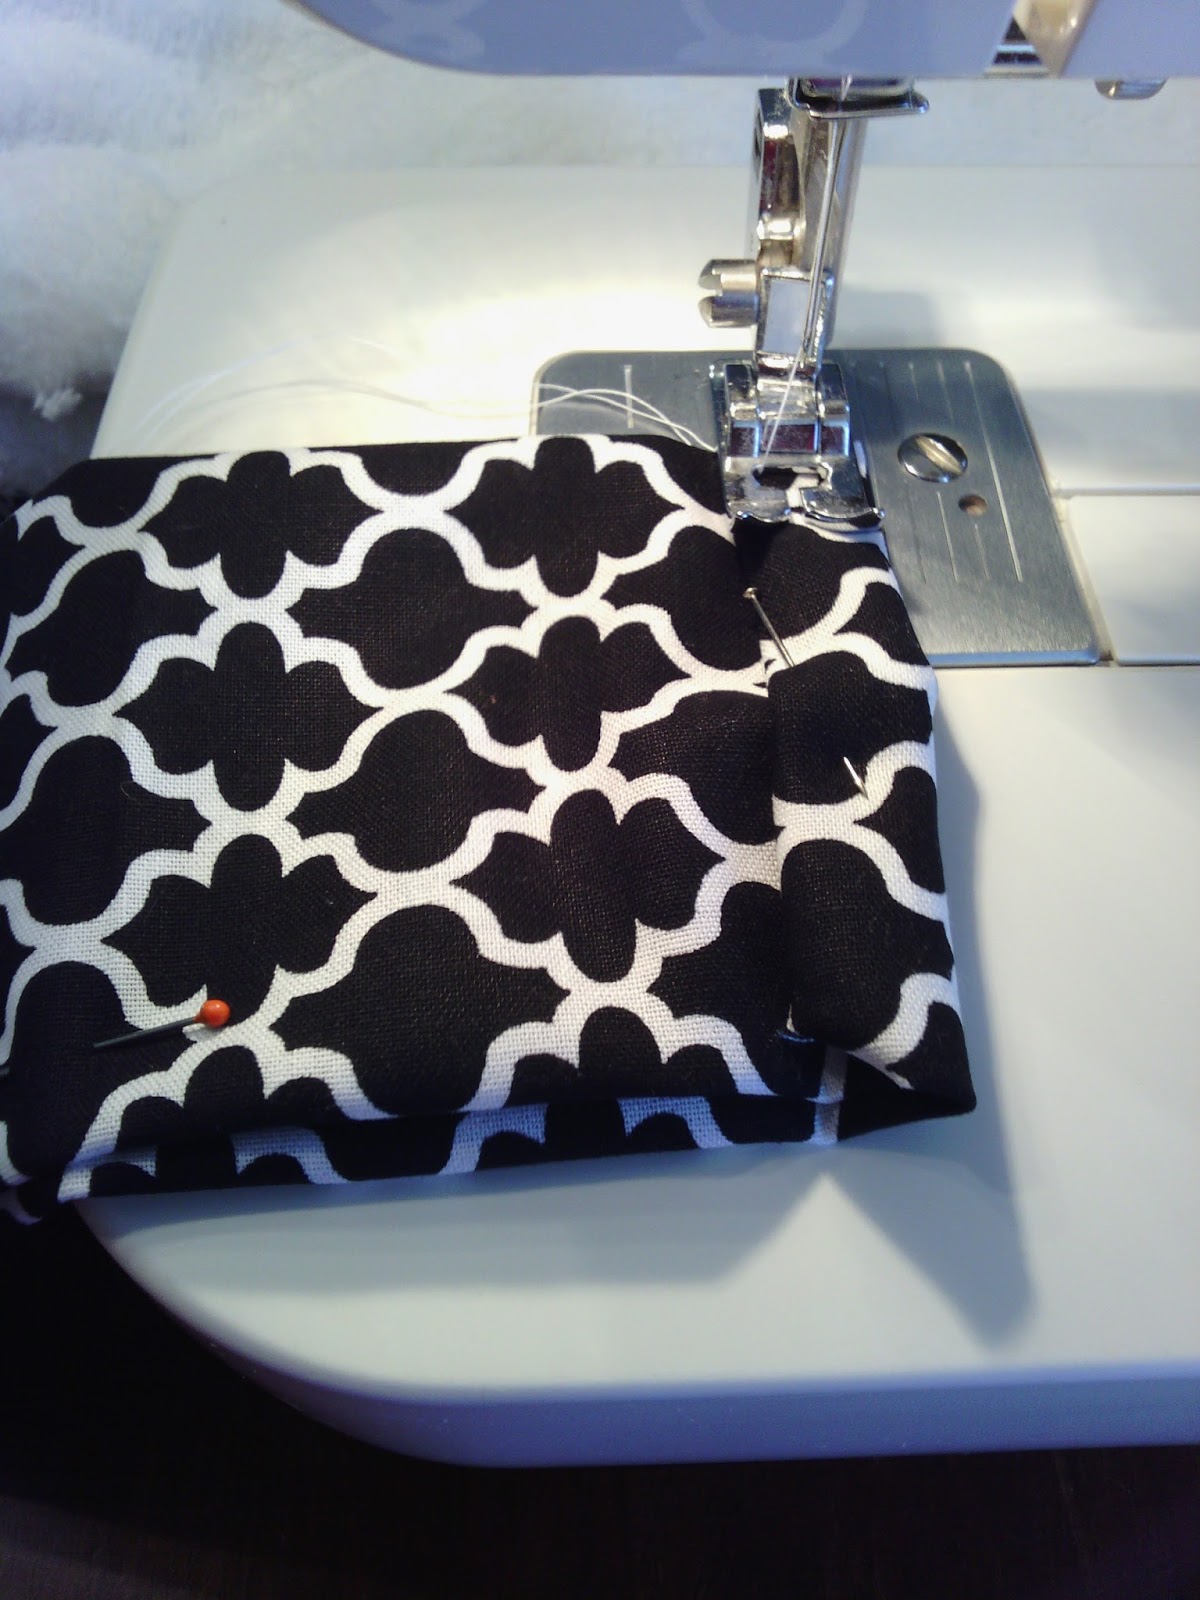
Fold the top down and pin.

Next fold in corners to make little triangles. The fold it twice and pin.
Sew edges closed.
Pin strap on the back of the top the nursing cover and pin. The edges should meet up with the sewn in insert. After pinning try on cover to make sure it doesn't hang too low. Adjust if necessary.
From top sew strap on.

From that top line sew a parallel line. Cover is done!!! Enjoy or be excited to give a good gift!
Next take the small burp cloth piece and lay it down on top of fuzzy soft piece. Pin and cut. Sew outer edge leaving a 3 inch opening. It is like your are sewing a pillow case.
Turn right side out. Make sure it is flat. You can steam press it to get a nice flat piece if you like. From Opening sew a finishing seam all around border.
The burp cloth is my favorite size. My babies spit up a lot and I really like a lot of coverage in my shoulder as we cruse around. ;-) You can roll it and tie a ribbon around it to make it pretty.
Or fold and tie together with the cover as a set.
It is the perfect gift. I love it! The people I have made them for love the size. It is perfect for your and a growing baby!

These are some that I made for the craft sale for my friend who is raising money to adopt a baby...............it was so fun going and picking out all the cute fabric from Hobby Lobby!


